Table of Contents
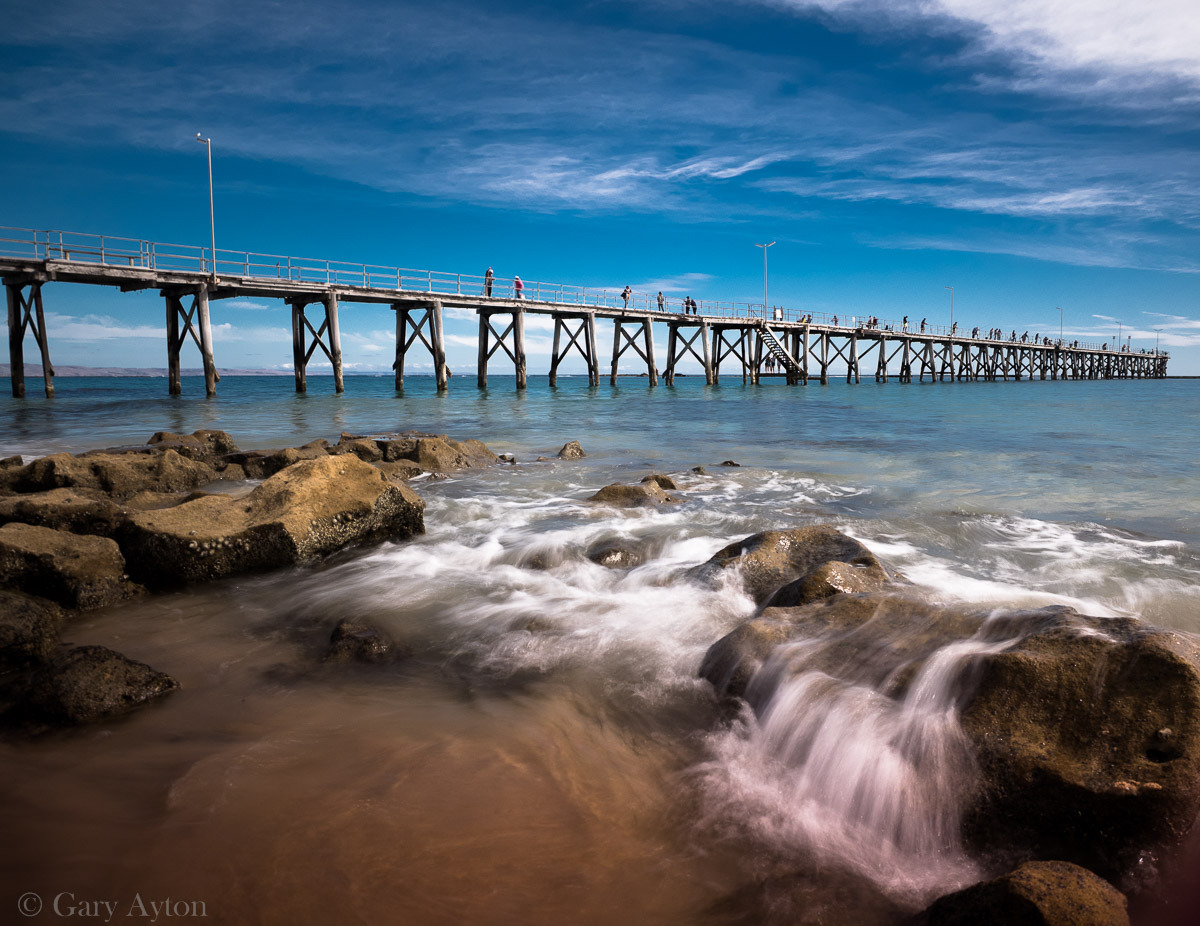
how to blur water motion - waterfalls, seascapes, etc
- see also:
- https://fstoppers.com/education/important-tips-photographing-bad-weather-280681|shooting landscapes and seascapes in bad weather - long exposure water blurs and tips for keeping gear dry]]
introduction
- there are two main aims in this topic:
- showing water motion
- converting moving water into a silky smooth blur to de-emphasise it and contrast it with fixed subjects such as rocks
- the key to either of these two effects is in choosing the BEST shutter speed for that particular situation which will depend upon:
- the effect you want
- silky smooth blur often needs 20-30sec exposures and a 5 or 10 stop ND and a tripod
- motion blur may only need 1/10th sec - 1/2 sec exposure, and thus on a camera such as the Olympus OM-D E-M1 with its amazing image stabiliser, you may be able to achieve this hand held without a tripod!
- the speed of the water flow
- the amount of water flow (eg. waves vs ripples)
- distance of camera to water
- whether the flow is constant or varying (eg. waves receding from a beach)
- once a shutter speed is determined, you need to work out how to achieve the correct exposure with that shutter speed and this may require a combination of:
- low ISO
- a closed down aperture
- polarising filter, or more likely, a 3 to 10 stop ND filter (or perhaps a infrared filter)
- when using a dense filter, a mirrorless camera with an EVF will make life much easier to see the scene and compose it, while using a wide aperture lens will help AF lock by allowing more light in
- if the shutter speed is much longer than your camera's image stabiliser can manage, you will need a sturdy tripod
- generally, the camera is best put into S (shutter priority) or M (manual exposure) mode on the PASM dial
you probably will need a filter to get long exposures unless it is after sunset
On cloudy days, you may not need a filter, or may just need a ND4 or polarising filter as in this waterfall photo I took:

On bright sunny days, you need a very dark 10-stop or ND400 filter such as the one I used for this shot:
photography of waterfalls
- bright specular reflections of the sky from water make waterfall scenes very contrasty indeed, particularly when in forests and the river area below is in dense shade
plan ahead
- the very high contrast due to specular highlights can be reduced by ensuring the light source is soft and large such as overhead clouds and NOT lit by the sun, so choose WHEN you will be going or perhaps wait until the sun is behind the clouds
- in general, avoid shooting in strong wind and rain or on a sunny day
- waterfalls have different personalities dependent upon:
- amount of water flowing
- too much after heavy rains may obscure the rock features and also give a muddy brown flood-water appearance
- too little and you may find it hard to show in an image
- season - autumn colours, spring blossoms, etc
- character of light - sun vs blue sky vs cloud vs storm clouds vs storm clouds overhead but lit by brighter clouds
- access to waterfalls:
- floods or storms may make access impossible or dangerous, and risk of falling trees and unstable paths
- thick undergrowth may hide snakes
- coastal falls may only be accessible at low tide
bring a polarising filter or a ND filter
- the brightness of the river/creek can be dramatically altered by using a polarising filter and adjusting it to suit your needs
- by using a polarising filter on a cloudy day with a low ISO of 100 or lower, and an aperture of around f/8-16, you may be able to get to a nice long shutter speed of longer than 1/8th sec to show some good water blur as outlined above without need to resort to ND filters
- if shooting in sunlight, you may need a ND400 “Big Stopper” 10 stop neutral density filter
- make sure you use a lens hood or a hand to shield the front of the filter from the bright sky which may introduce flare and soften your image
- make sure the front of the filter is clean of water droplets as waterfall spray can be extremely problematic and will degrade your image
consider also using a gradient ND filter
- this can assist in avoiding blown highlights at the top of the waterfall and also will help retain detail in clouds
bring a tripod or very good image stabilised camera
- ideally one should have the camera mounted on a tripod to ensure stability at such long shutter speeds, but as pointed out above, the Olympus cameras have a superb image stabiliser which may allow sharp images carefully hand held at 1/4sec with wide angle lenses, and this may allow camera positions not possible with tripods, and obviously avoids the need to carry heavy tripods down and back up all those steps.
- if you want to create ultra-large prints then you need a full frame or even medium format camera with 30+ megapixels, wide dynamic range, an extremely sturdy tripod on a sturdy non-vibrating surface (many viewing platforms vibrate, especially in the wind or if people walk on it), with mirror lockup and self timer engaged.
set the camera settings for best image quality
- RAW file mode (+/- jpeg) for best dynamic range and post-processing capability
- ISO set to base ISO for that camera (usually 200) as this gives widest dynamic range and least image noise
- you may need to shoot at LOW ISO (most cameras allow a lower ISO than base) to get that extra bit of long shutter speed without compromising on aperture
- set white balance to Auto or perhaps cloudy or a custom WB using a grey card at the scene
- set PASM to Manual Exposure (or perhaps Shutter priority)
- if using an Olympus, set the display to show shadow-highlight warnings (press INFO button)
- set IS to OFF if using a tripod (but ON otherwise)
- consider setting camera to manual focus and use the rear AFL to set an AF lock or use manual focus aides
- if using a dSLR on tripod, use mirror lockup and self timer
- if using mirrorless cameras don't need to worry about mirror lockup, but one should use self-timer if mounted on a tripod
- choose a shutter speed which will:
- minimise camera shake
- minimise unwanted movement of branches, etc caused by the wind
- provide the desired blurring of the falling water and the stream water - this is dependent on the amount of water flow - perhaps 1/8th to 1/2 sec for lots of water, perhaps 1/3rd sec or more for most waterfalls, and maybe try even longer for trickles of water
- set the exposure according to shadow-highlight warnings, or, if using a dSLR, check these on image playback or bracket exposures
- aim to maintain aperture in the f/5.6-f/11 range to give best sharpness as f/16-22 may degrade sharpness although will give more depth of field (DOF)
get the shot
- once you have set camera to RAW mode, manual exposure or shutter priority, camera position, composition, focal length, and focus all sorted out, your big challenge is to ensure the best exposure with the least blown highlights (these are difficult to avoid at the top of waterfalls even on cloudy days), with the least blocked shadows - if you have an Olympus camera ensure you set the viewfinder display to show shadow-highlight warnings and adjust exposure according to these (unfortunately dSLRs cannot display these unless in their cumbersome Live View mode).
- optionally consider HDR bracketing but given that it is likely that fern leaves and the water are both moving between bracketed exposures, results may not be great, so you are better advised to have a camera with intrinsic wide dynamic range of the sensor such as the latest Sony sensors as used on Olympus, Sony and Nikon cameras.